What We Do
PAGH TYING PROCESS - 01
Step 1 - Prep
The turban cloth is sourced by the client or we at Pagh Vala, provide the Turban. The first part is important and we sprinkle water on the turban so that the cloth sticks firmly in place when we tie the Turban around the head. If tying the turban on your own, one corner of the turban is tied to a door knob or handle and is stretched with hand. If you are tying for someone or have another pair of hands its best to pull in the turban material.

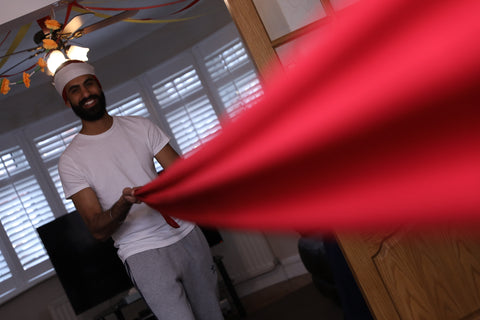
Both the free ends are then rolled in, making the turban heavier in the middle and lighter at the held corners. A band of cloth called Fifty is tied on the forehead, before tying the turban. This can be any colour.
Step 2 - The Process of Tying
One corner is held between the teeth while bringing the other, from the left hand side, behind and then over the top of the head diagonally. The Turban cloth is wrapped smoothly at an angle around over the forehead approaching the left eyebrow.
The second "Larh" or loop is carefully twisted on one side, bringing it down from the forehead and around, creating a ridge, over the first loop.
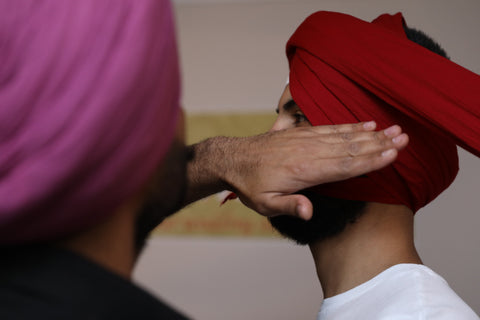
The process is repeated on every other turn so that the fabric crosses in front, working its way up.
Step 3 - Securing the Turban in Place
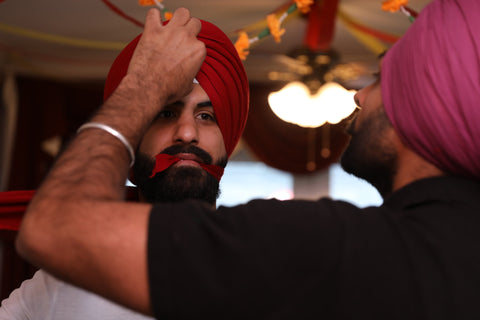
After, usually about six or seven loops, for an adult, the end is tucked in under the top of the turban and secured with pins. The remaining end is pulled (the one held in the teeth) underneath the front of the turban to cover the back of the head. The end is tucked into the back of the turban, and is secured with pins.
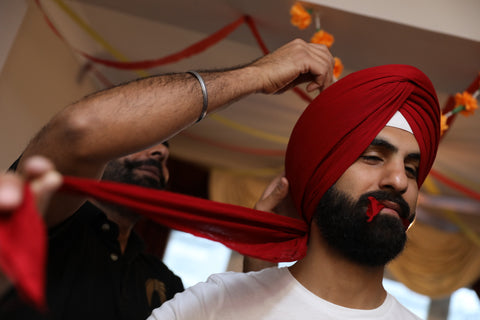
Step 4 - Completing the Look
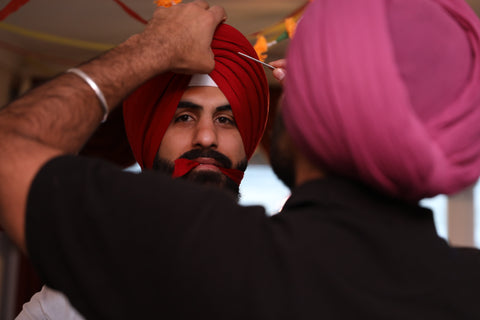
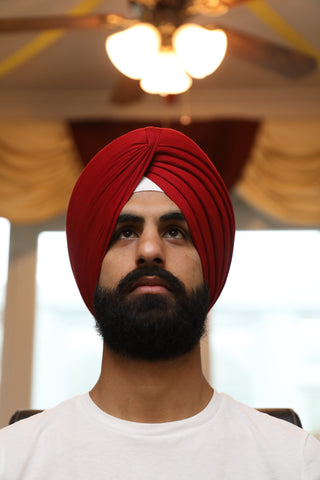
Any small creases are then tidied up using a larger pointed pin. The completed look, looks great as shown below.



 Whatsapp us!